
I hope you have been enjoying the Fall on the Farm series.
Number 7 was just release with only 2 more to go!
There have been issues updating my web site for a while now with no end in sight to the fix. So I want to just post the photos of the most recent releases here in case you haven't seen them.
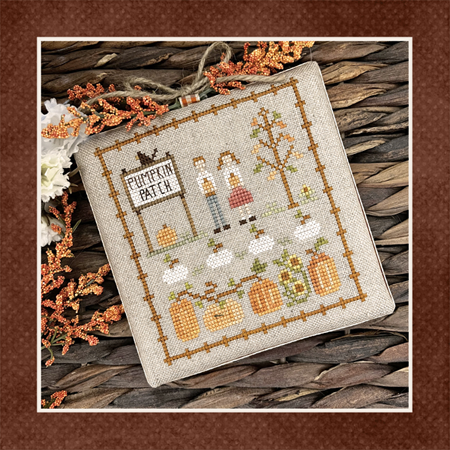 |
| Pumpkin Patch (released in June) |
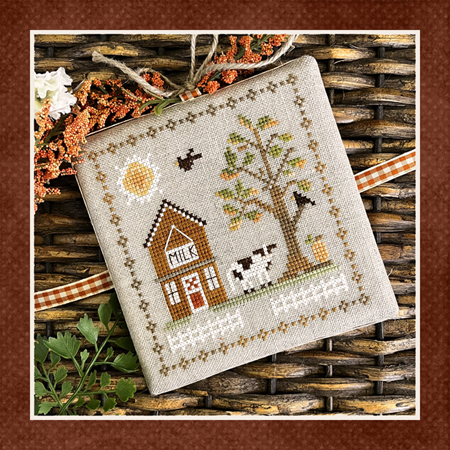 |
| With a Moo Moo Here (released in May) I'm thinking this is a good time to answer some questions I have been receiving. No, I did not create a border for this design. It's extremely "busy" and my opinion is that borders can sometime take the focus away from the details in the smaller designs. I have designed borders in the past but I look at the design as a whole and make a decision. Next is another no. I do not have another series planned for spring and summer farms at this time. I can't seem to come up with original ideas for another 8 blocks (the middle has been a quilt block so that's easy.) Designing can be tough when forced so that's not the direction I'll go at this time. And the third no.....there isn't another series coming like the last ones. HOWEVER, there is a new series in the works that stand alone each month. That will have to be the tease for the moment. I will be releasing the annual Hometown Holiday design the end of July. Look for The Music Store in shops toward the last week of the month. Nice chatting with you all.......hope this helps those of you looking for answers and photos! Diane |


